The first few posts in this blog have been about setting up a scene, adding a light and a cube, and moving the camera around, and then adding an FPS counter to check the scene is running an acceptable speed. These things are important steps to making a WebGL page with React and react-three-fiber, but they're not exactly exciting.
The next thing to do is to load a 3D model. That's much more interesting than a cube. Sorry cube fans.
There are several different formats for storing 3D assets to load in Three.JS, and each of them comes with a different loader. What you choose to use depends on your workflow but generally these days it's best to go for glTF format. You can export glTF models from most 3D modelling applications. It can be compressed, it's fast to load, and it's based on JSON so it's relatively easy to understand. You don't need to understand it to use it though.
If you don't have experience with a 3D modelling application then you can still use glTF models that you download from the web. Google has a great collection of free models at poly.google.com. They're mostly licensed to use in any application so long as you include an attribution to the person who made the model, but be sure to check that it's OK before publishing in case the author has chosen a different license.
Loading a glTF model in react-three-fibre is less straightforward than the previous things we've added to the application, but fortunately there's a way to cheat. The react-three package has a utility for creating a JSX component to load the model. This is by far the simplest approach to use if you want to load a something so it's what we'll do here.
You can run it using npx.
npx @react-three/gltfjsx <path to your glTF model>
This will output a slightly verbose JS file that you can include in your app to show the model.
import React, { useRef } from 'react'
import { useGLTF } from '@react-three/drei/useGLTF'

export default function Model(props) {
  const group = useRef()
  const { nodes, materials } = useGLTF('/small-airplane-v3.gltf')
  return (
    <group ref={group} {...props} dispose={null}>
      <group position={[-0.02, 0.5, 1.3]} rotation={[-Math.PI, 0, -Math.PI]}>
        <group position={[0.02, -0.5, -1.3]}>
          <mesh material={materials.White} geometry={nodes['buffer-0-mesh-0'].geometry} />
          <mesh material={materials.Red} geometry={nodes['buffer-0-mesh-0_1'].geometry} />
          <mesh material={materials.Gray} geometry={nodes['buffer-0-mesh-0_2'].geometry} />
          <mesh material={materials.Black} geometry={nodes['buffer-0-mesh-0_3'].geometry} />
        </group>
      </group>
      <primitive object={nodes['']} />
      <primitive object={nodes.keyLightNode} />
    </group>
  )
}

useGLTF.preload('/small-airplane-v3.gltf')
I've found that the components can usually be deleted. Also, you might need to tweak the path to the model depending on your server setup.
As the component is lazy-loaded you also need to wrap the component in tags in your React code.
import React, { Suspense } from "react";
import ReactDOM from "react-dom";
import { Canvas } from "react-three-fiber";
import { OrbitControls } from "@react-three/drei/OrbitControls";
import { Stats } from "@react-three/drei/Stats";

import Plane from "./model";

const App = () => (
  <Canvas style={{ height: 400, width: 800 }}>
    <pointLight position={[5, 5, 5]} />
    <Suspense fallback={null}>
      <Plane />
    </Suspense>
    <OrbitControls />
    <Stats />
  </Canvas>
);

ReactDOM.render(<App />, document.getElementById("root"));
Unfortunately I don't have a paid Codepen account so this example is using CodeSandbox as that allows file uploads. The paths to the imports have changed but they're essentially doing the same thing as before. Now though there's an import of the Plane component from the model.js file, and the cube component has been replaced with the Plane and surround Suspense JSX tags.
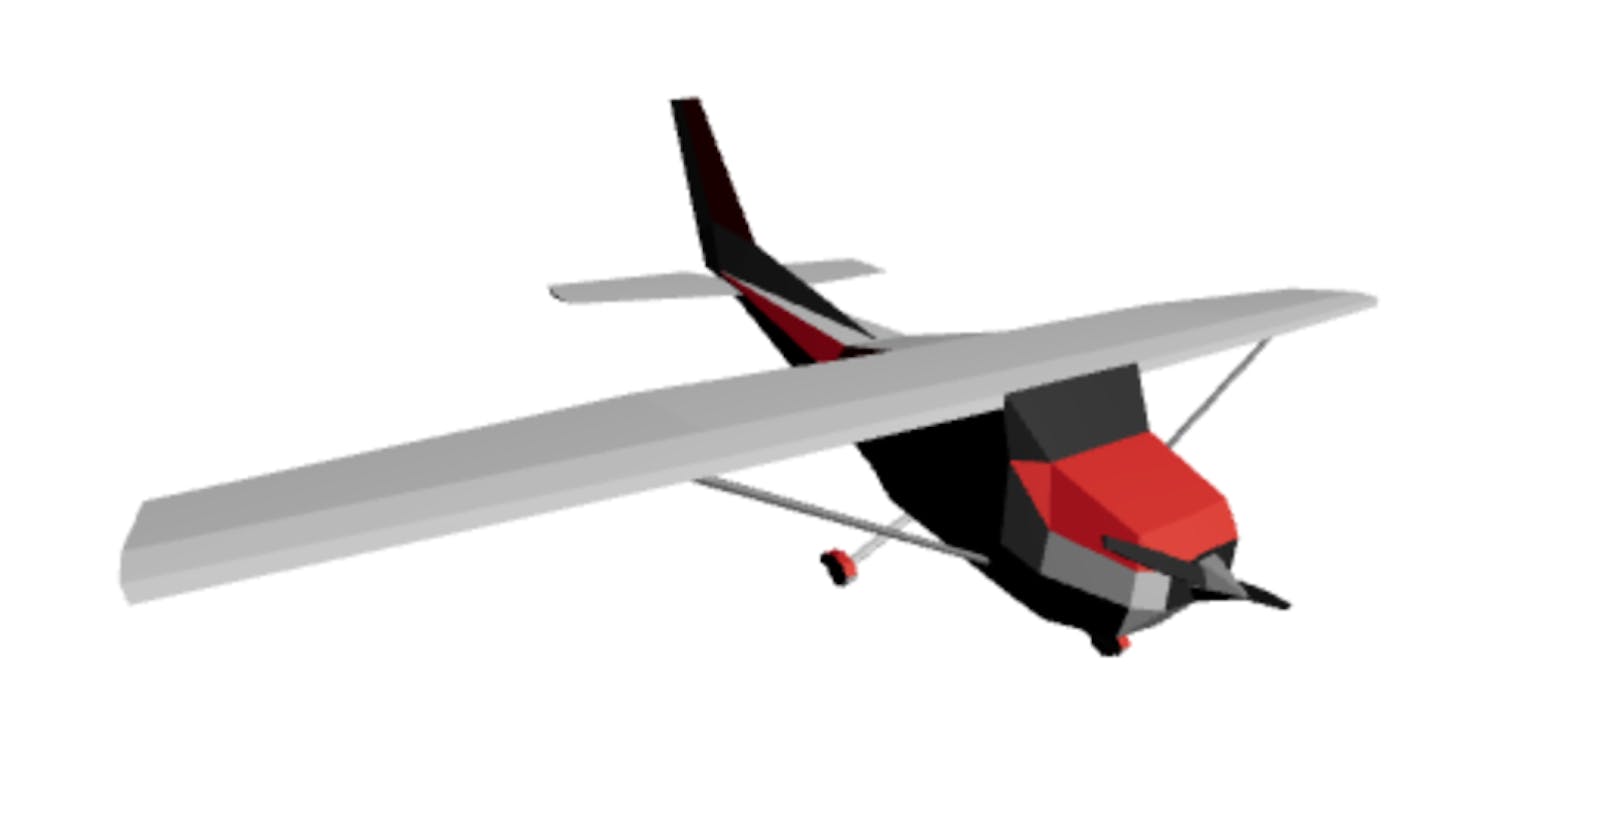
Now if we load the app we can see a plane instead of a cube.
Drag with the mouse to look around the plane.
The Plane component will expand any props send to it on the outermost group, so if you pass in something like scale={[0.5,0.5,0.5]} you can make the plane model appear 1/2 size.
